
Rapid application development with Dgraph data platform
This blog post reviews the steps needed to rapidly set up a GraphQL-based application factory. The instru ...
Learn more
In this tutorial we will build a To-Do List application using React JavaScript library and Dgraph as a backend database. We will use dgraph-js-http — a library designed to greatly simplify the life of JavaScript developers when accessing Dgraph databases.
The tutorial is split into several steps:
If you are already familiar with setting up a React application and want to skip straight to the Dgraph-specific part of the tutorial, you can start from Section 2.
Nowadays it’s pretty simple to get started with React, thanks to the awesome create-react-app script. Let’s run it:
npx create-react-app dgraph-react-todomvc
(npx command is part a of the standard Node.js installation.)
[
Let’s compile and test our application. Like most tasks with create-react-app we need only one command to run
the development server and it will even open a browser window for us:
yarn start
Once we’ve made sure everything is working as expected it’s a good time to save our progress so far to a version control system. At Dgraph we’re using GitHub so I will just commit everything with Git:
git commit -am 'Output of the create-react-app'
And since I’ve created a public repository, you can view and clone all steps of this tutorial at any time. (I won’t digress on how I did this, as it goes beyond the scope of this tutorial.)
So far we’ve been generating boilerplate code not specific to the to-do application we’re building. It’s time to make our app more unique, but as the first step, let’s just delete all the styling we’re not going to need.
As this is not a very creative process (quite the opposite of creative, actually) I won’t go into details. You can view the changed files on GitHub.
Since I’m not a designer, but still like my apps to look pretty, I’m going to use high quality off-the-shelf CSS styles, released by the TodoMVC team.
Adding those to the project is as easy as
yarn add todomvc-app-css
We also need to load the new styles onto the page, by importing them in the App.js:
import 'todomvc-app-css/index.css'
And after these two changes we can write some HTML to use the styles.
Let’s update our main render() method to do just that (also in the App.js):
  ...
  render() {
    return (
      <div>
        <header className="header">
          <h1>todos</h1>
          <input
            className="new-todo"
            placeholder="What needs to be done?"
            autoFocus={true}
          />
        </header>
      </div>
    )
  }
  ...
Now, since we still have our dev server running in the background (the one we started with yarn start), our app will get live reloaded and start to look pretty fancy:
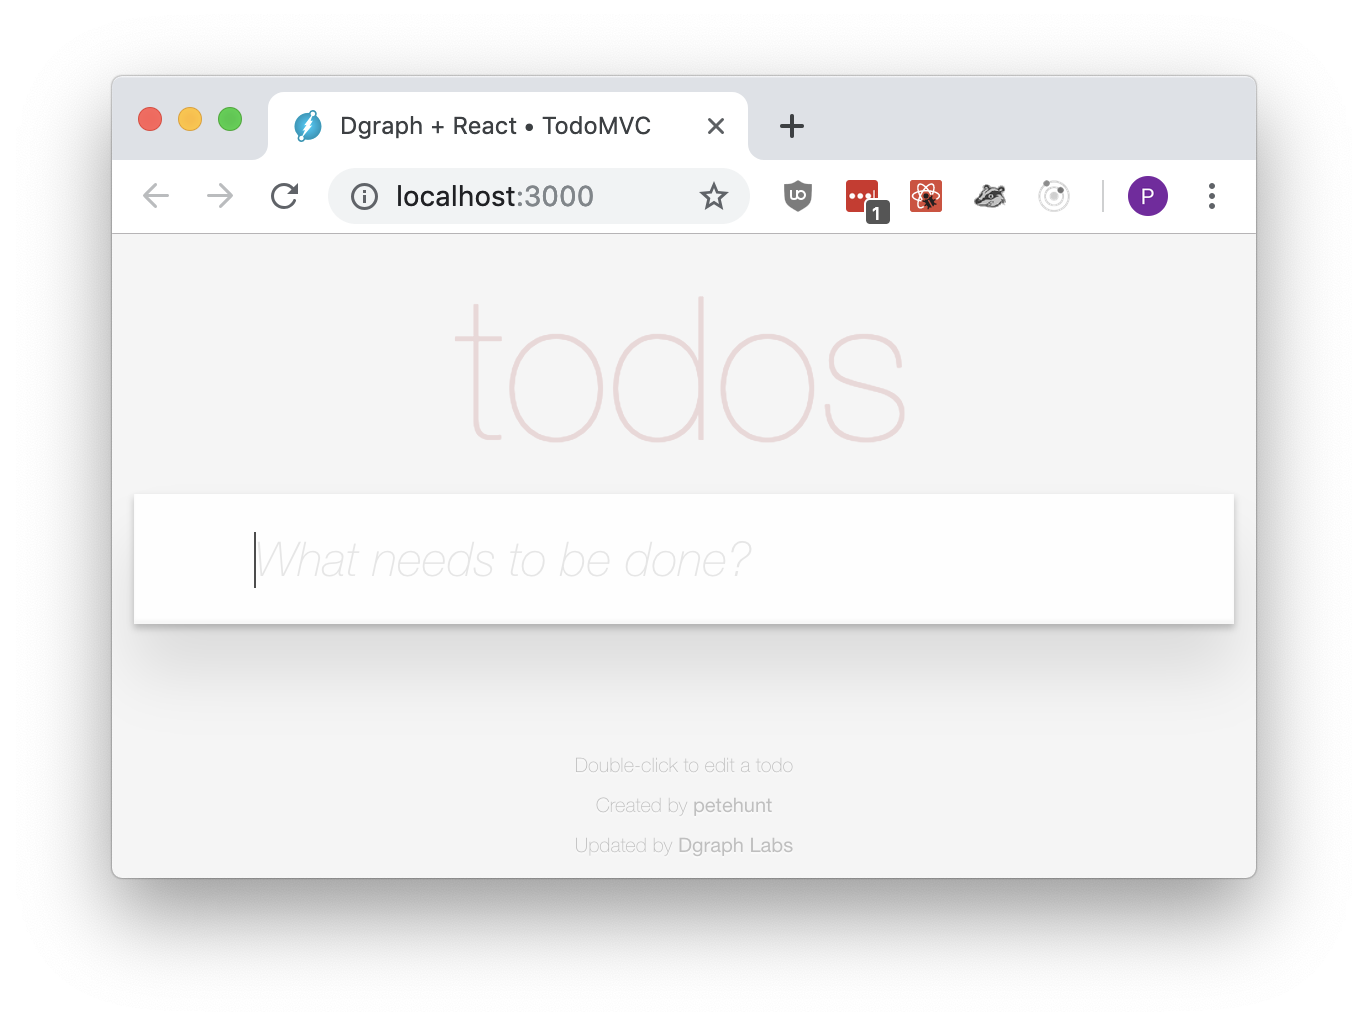
Sadly it isn’t doing anything useful but we’ll get to that in a minute.
I’ve also made small tweaks to the index.html but those are fairly self-explanatory,
and can be seen in the git history.
There’s just one more step before we get to the juicy bit - using Dgraph. Trust me, I want to start telling you about it ASAP.
So, without further ado, let’s get our frontend code done with by copying the ready made React components from the TodoMVC React Example.
The files I’ve added are somewhat different to the “official” TodoMVC React code because I’ve modified the source to use all the shiny new features of modern JavaScript, Babel and Webpack: classes, modules, lambda functions, let/const keywords etc.
It’s another hairy but straightforward refactoring, so let’s not spend too much time on it.
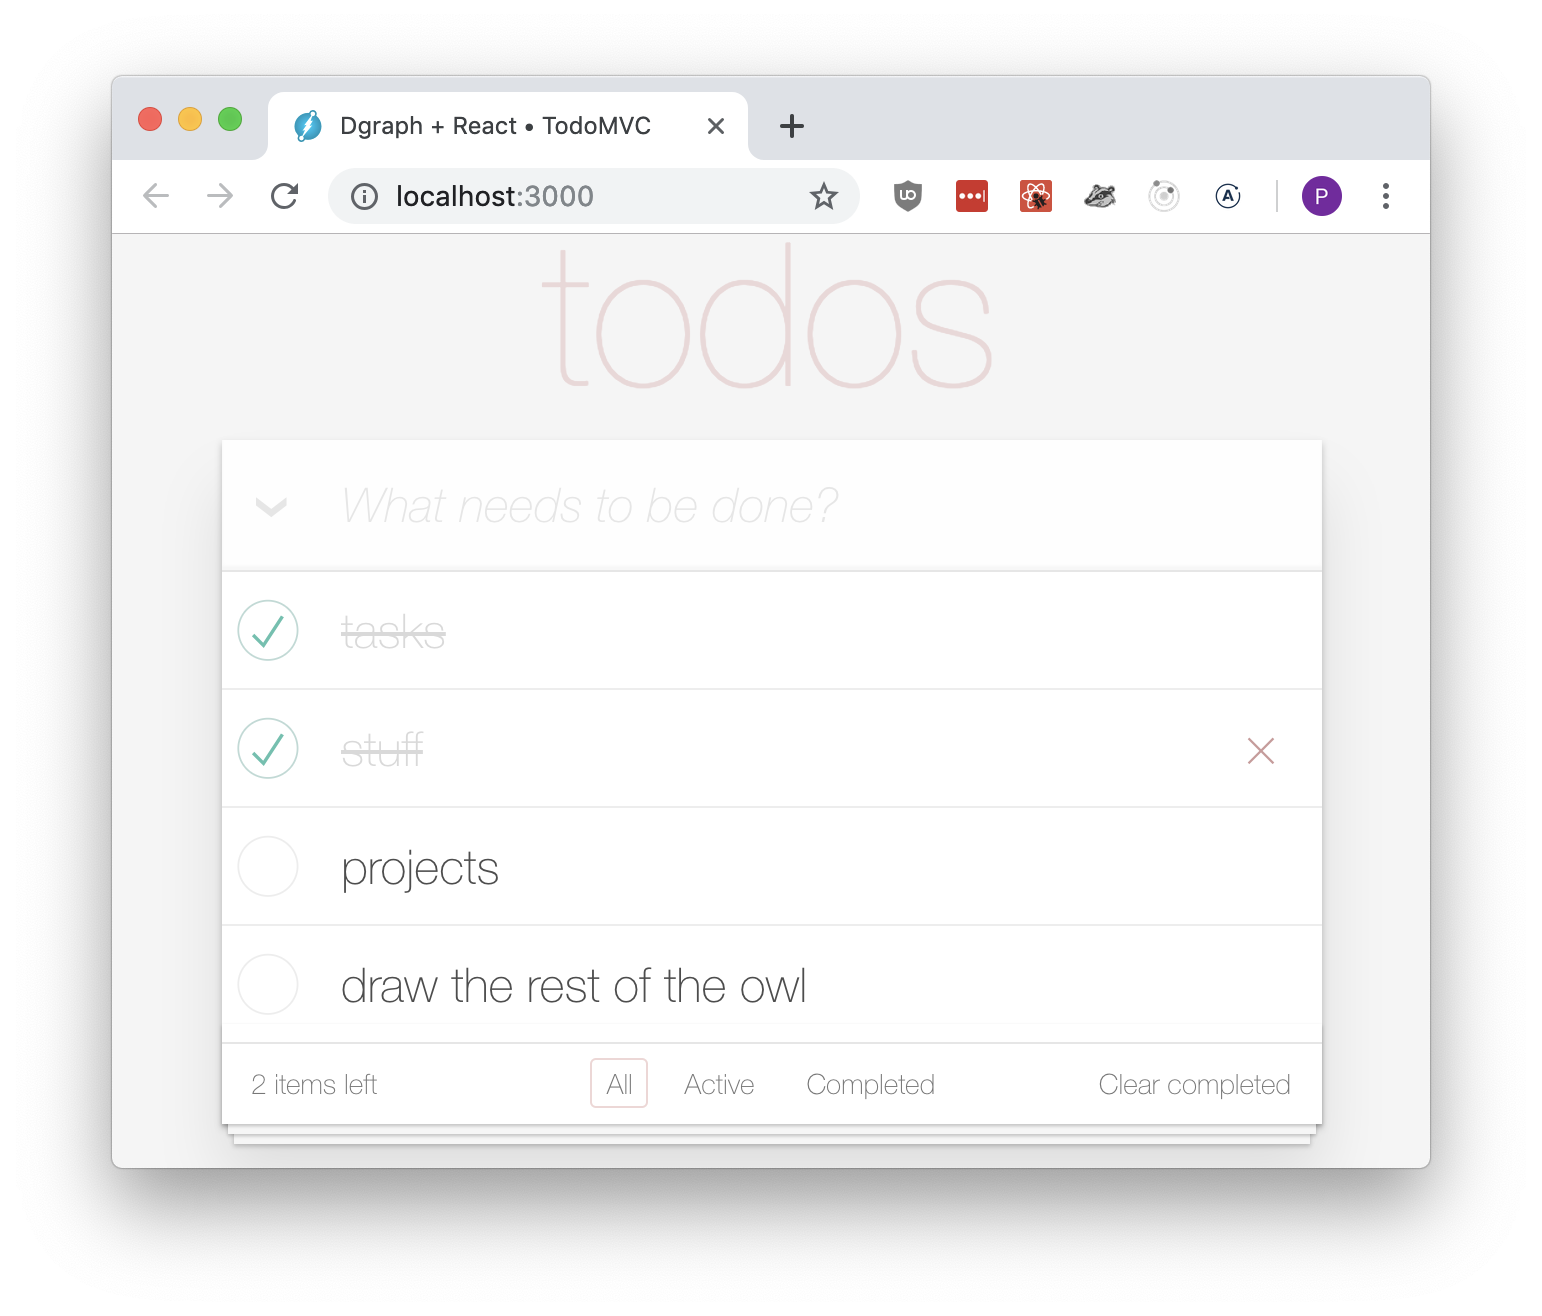
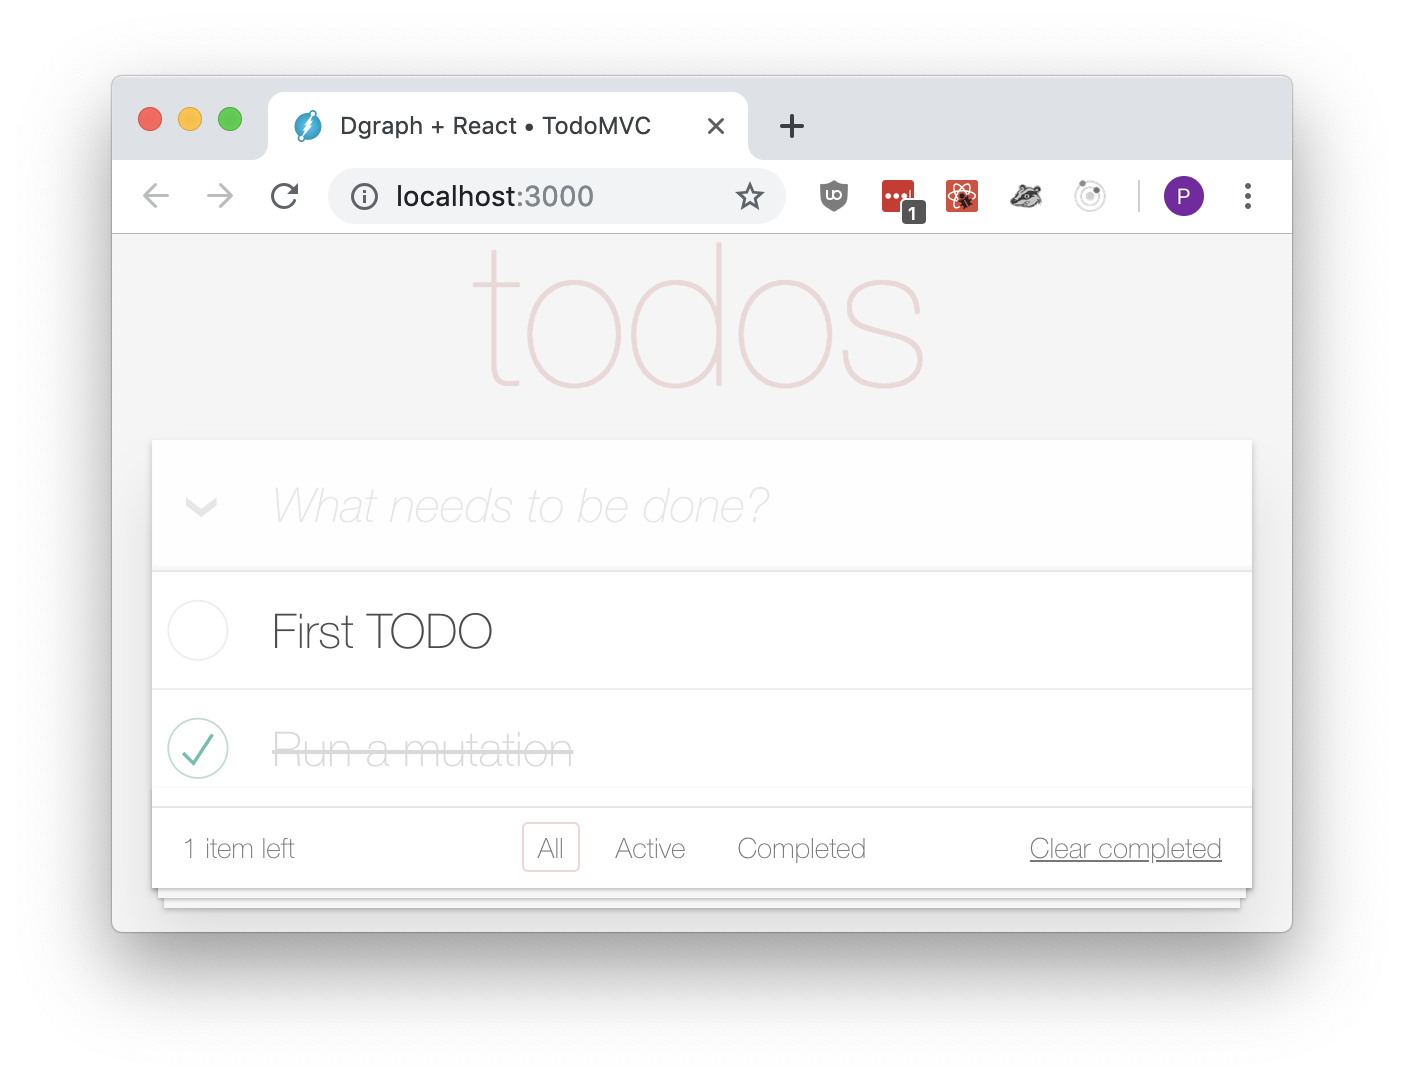
After the dust settled our app can respond to the user input, show and store some to-dos:
There are many ways to install and run Dgraph depending on your machine setup.
I personally prefer to use docker-compose as it keeps all of the configuration in one file.
First, let’s create a docker-compose.yml configuration file.
It’s up to you where you want to keep it, for our project the folder dgraph-react-todomvc/dgraph/ seems logical.
version: "3.2"
services:
  zero:
    image: dgraph/dgraph:v1.0.13
    volumes:
      - type: volume
        source: dgraph
        target: /dgraph
        volume:
          nocopy: true
    ports:
      - 5080:5080
      - 6080:6080
    restart: on-failure
    command: dgraph zero --my=zero:5080
  server:
    image: dgraph/dgraph:v1.0.13
    volumes:
      - type: volume
        source: dgraph
        target: /dgraph
        volume:
          nocopy: true
    ports:
      - 8080:8080
      - 9080:9080
    restart: on-failure
    command: dgraph alpha --my=server:7080 --lru_mb=2048 --zero=zero:5080
  ratel:
    image: dgraph/dgraph:v1.0.13
    volumes:
      - type: volume
        source: dgraph
        target: /dgraph
        volume:
          nocopy: true
    ports:
      - 8000:8000
    command: dgraph-ratel

volumes:
  dgraph:
Then we can fire up all three processes (Dgraph Alpha, Zero and Ratel) with one simple command:
docker-compose up
I usually run it in a separate terminal so I can check the server output at any time or
shutdown everything by pressing Ctrl+C.
The output of docker-compose will be a bit noisy, but should look something like this:
[
It sure looks like it’s doing something how do we know if it works as expected? Let’s fire up a web browser and give Ratel a try — Dgraph’s web UI.
Opening http://localhost:8000 should take you to the Ratel loading screen.
From there you can click on 🚀 Launch Latest to load the latest stable version of Ratel and run some queries:
Dgraph team has built client libraries for various languages. Since we are building a web app without a backend server, and JavaScript in the browser is very restricted in what it is allowed to do, we will be using dgraph-js-http.
You may have noticed there’s also dgraph-js
available via npm.
The main difference between the two is dgraph-js-http communicates with Dgraph via
HTTP queries and dgraph-js uses network sockets and gRPC.
gRPC is more efficient, but currently there’s no network sockets API available to webpages.
Therefore dgraph-js-http is our only option.
For many use cases, the difference in performance is negligible so let’s start building our
application around the HTTP protocol.
dgraph-js-httpAs with any other npm package, adding dgraph-js-http to our project is super simple:
yarn install dgraph-js-http
And after yarn has downloaded the latest version of the package, we can import it
in our TodoModel.js:
import * as dgraph from 'dgraph-js-http'
In order to communicate with Dgraph we need to create an instance of the DgraphClient.
Let’s do it inside our TodoModel constructor:
  const clientStub = new dgraph.DgraphClientStub("http://localhost:8080")
  this.dgraph = new dgraph.DgraphClient(clientStub)
With a client object ready we can fetch to-dos using a GraphQL+- query:
  async fetchTodos() {
    const query = `{
      todos(func: has(is_todo))
      {
        uid
        title
        completed
      }
    }`
    const res = await this.dgraph.newTxn().query(query)
    return res.data.todos || []
  }
We also need to call fetchTodos() when our web app is loaded, store its result
inside the model, and also get rid of the no-longer-needed localStorage code.
For the former task I’ve created a helper method fetchAndInform():
  async fetchAndInform() {
    this.todos = await this.fetchTodos()
    this.inform()
  }
And placed it as the last call in the TodoModel constructor:
  constructor() {
    const clientStub = new dgraph.DgraphClientStub("http://localhost:8080")
    this.dgraph = new dgraph.DgraphClient(clientStub)

    this.todos = []
    this.fetchAndInform()
  }
As the final touch, we can stop manually generating unique ids and
start using much more compact and efficient Dgraph’s uid field:

All the major changes I’ve outlined above and some minor cleanups I’ve omitted are available in this GitHub commit.
So we’ve written a bit of code, removed a bit more, but how do we know if it’s actually working as expected?
If we simply reload the web app we will see an empty to-do list. Any items we add via the UI disappear on browser refresh.
That is happening because our Dgraph database is empty at the moment and we haven’t coded our components to populate it yet.
Every time the page is refreshed our query returns an empty set of to-dos, and that is what we see on the webpage.
Since we have the Ratel UI (we have already played with it) we can easily add some test data.
Let’s open our local Ratel instance (http://localhost:8000/?latest) and execute the following mutation:
{
  "set": [
    {
      "uid": "_:todo1",
      "is_todo": "true",
      "title": "First Todo",
      "completed": "false"
    },
    {
      "uid": "_:todo2",
      "is_todo": "true",
      "title": "Second Todo",
      "completed": "true"
    }
  ]
}
In Ratel the successful response should look like this:

Note that we needed to click the “Mutate” radio button.
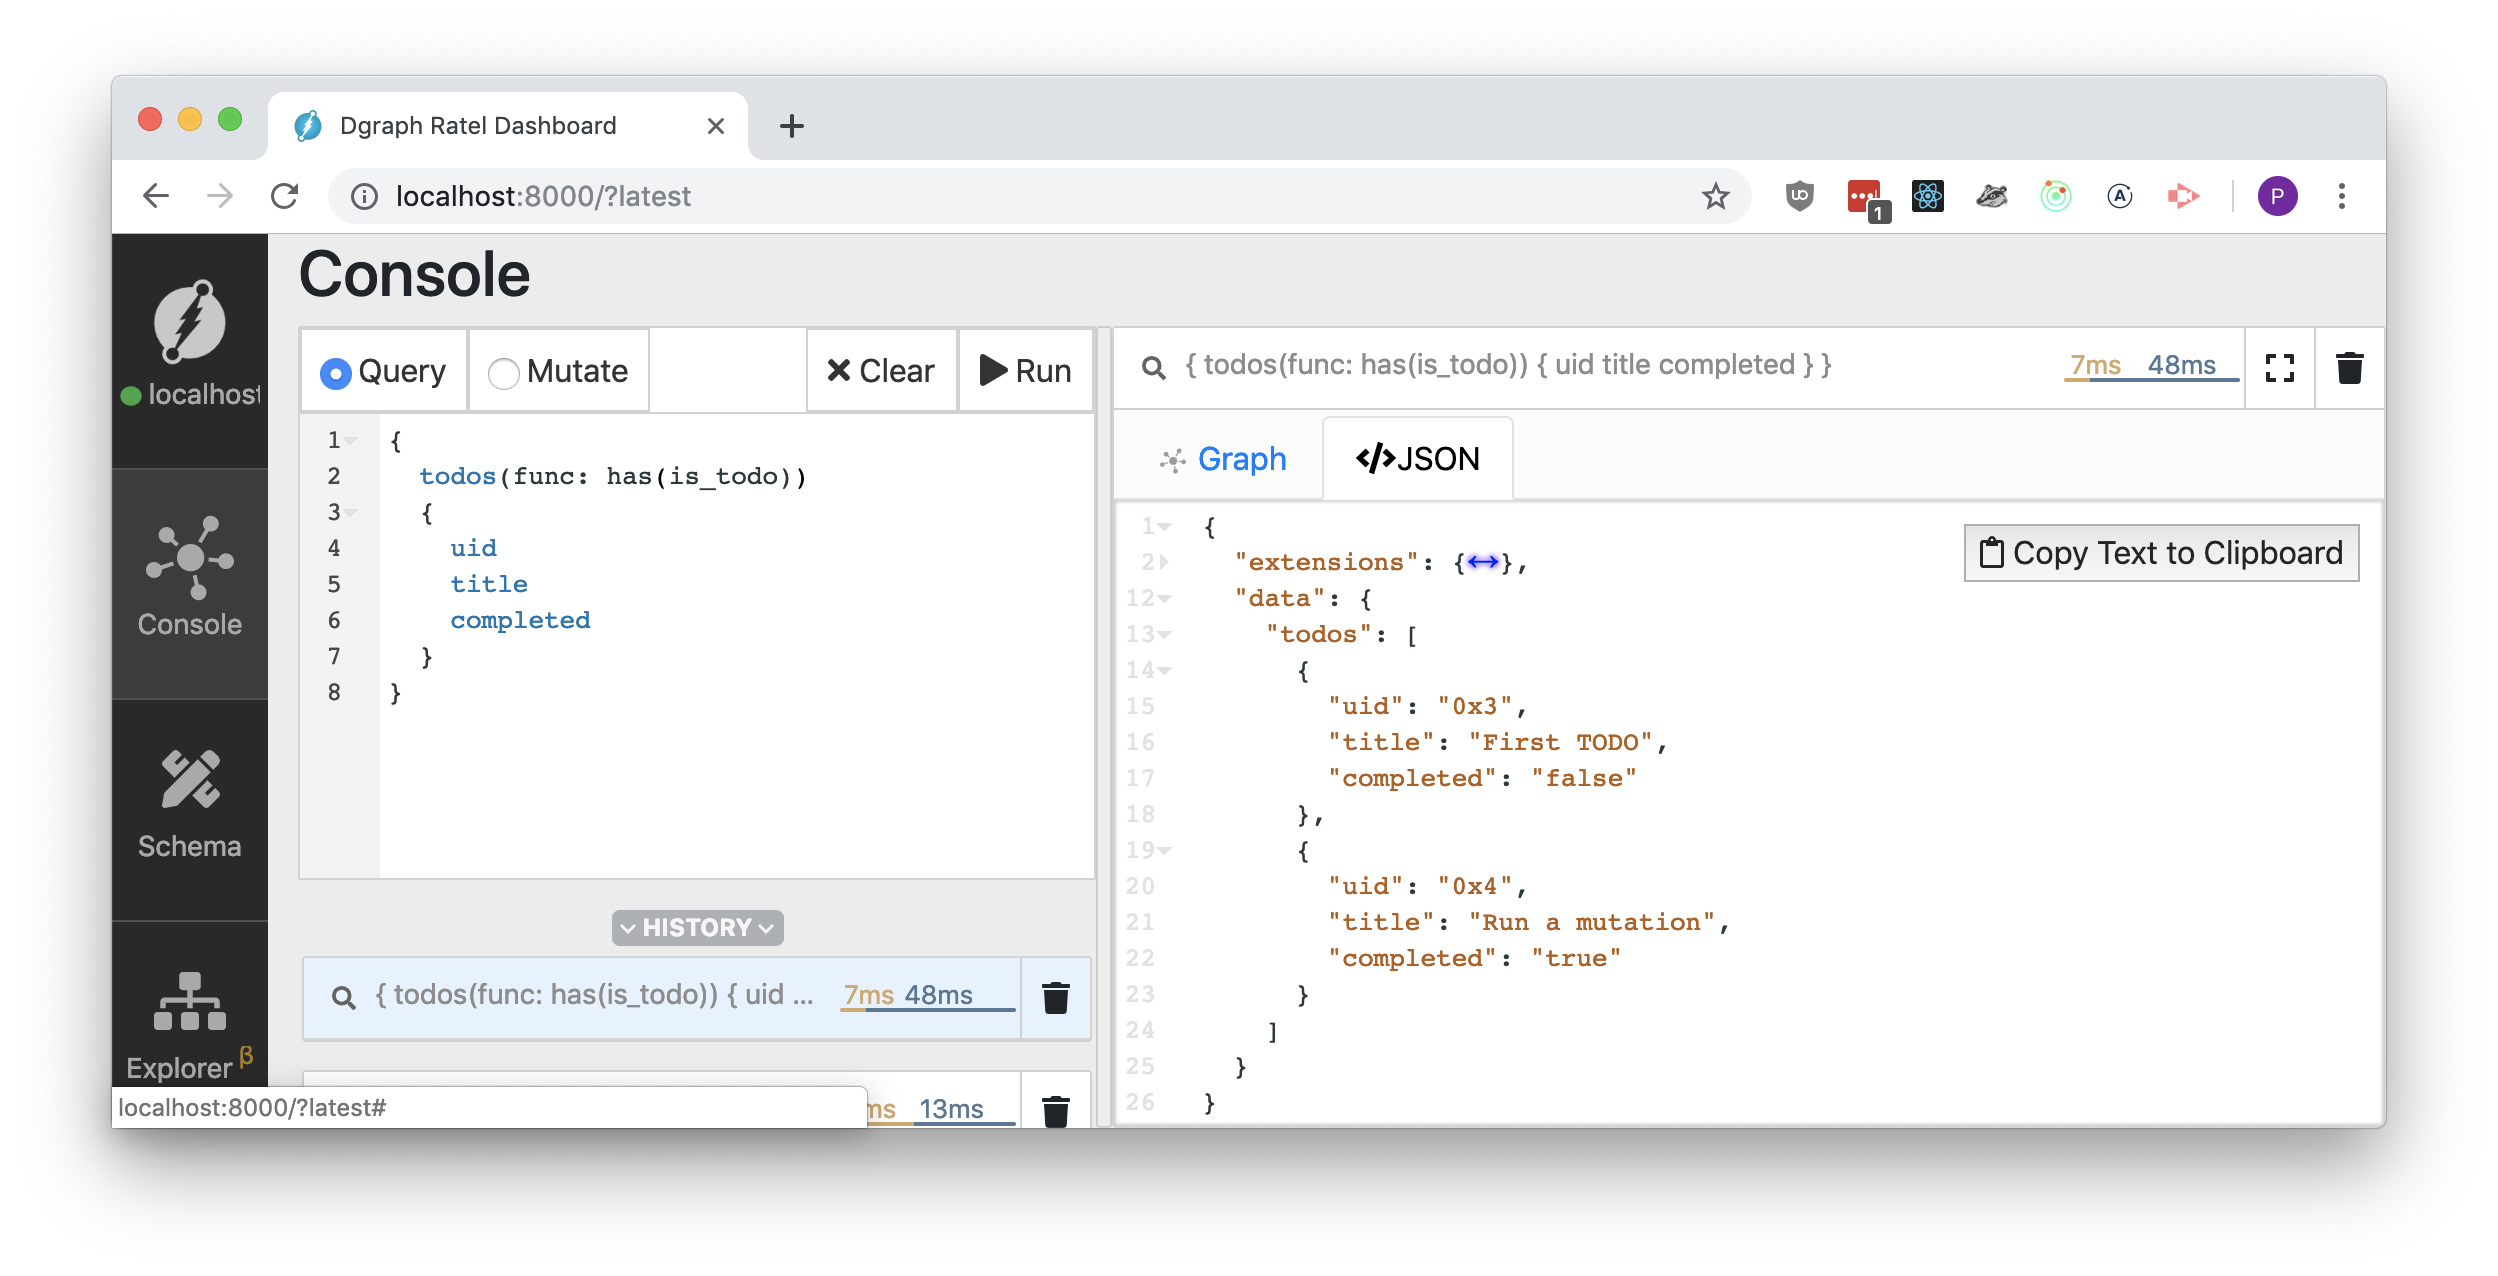
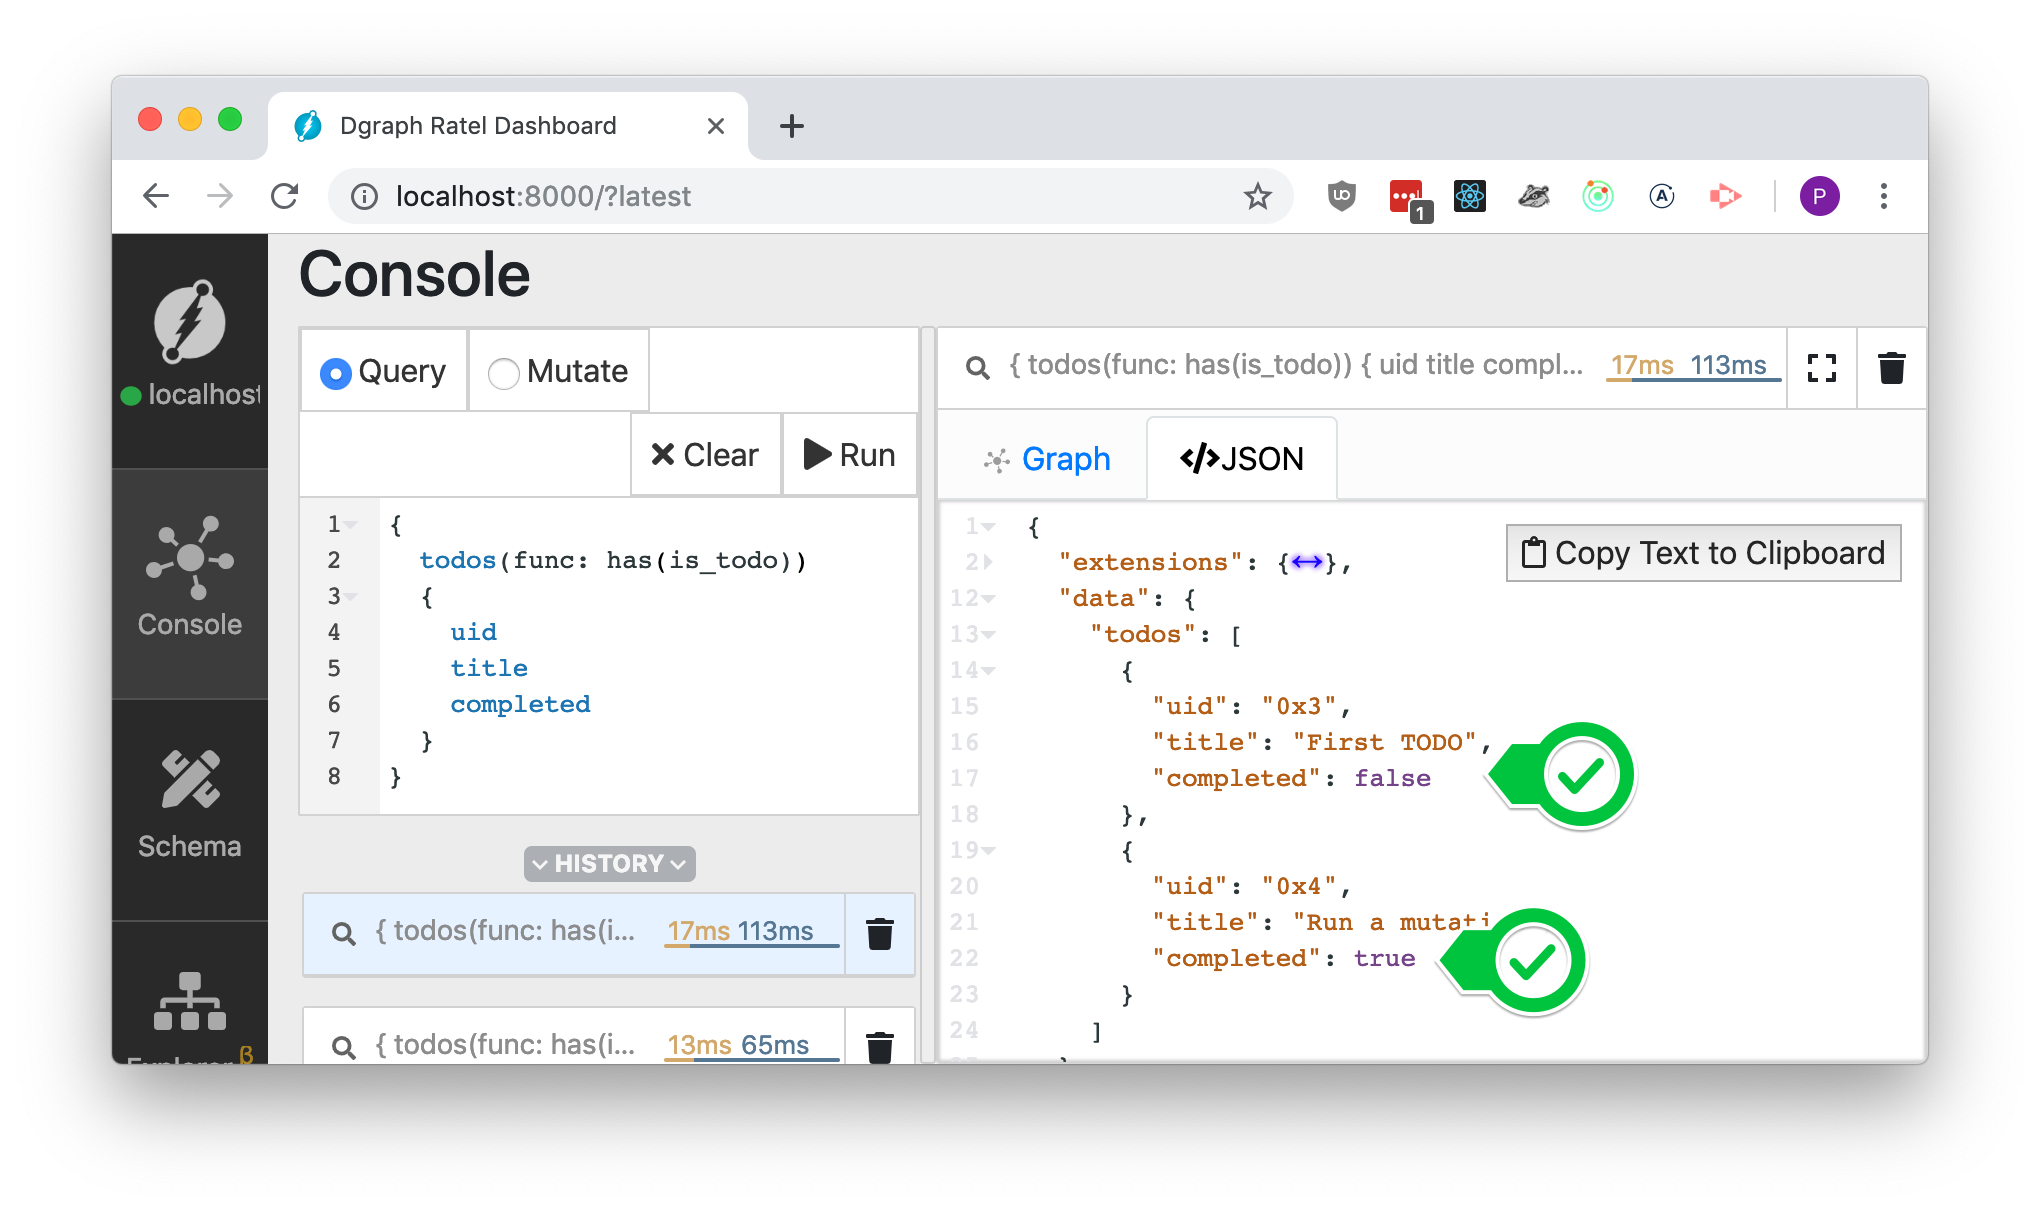
Ratel also lets us test the query our application is sending:
Now, after we made sure we have the right data in the database, let’s see if our application is accessing it correctly:
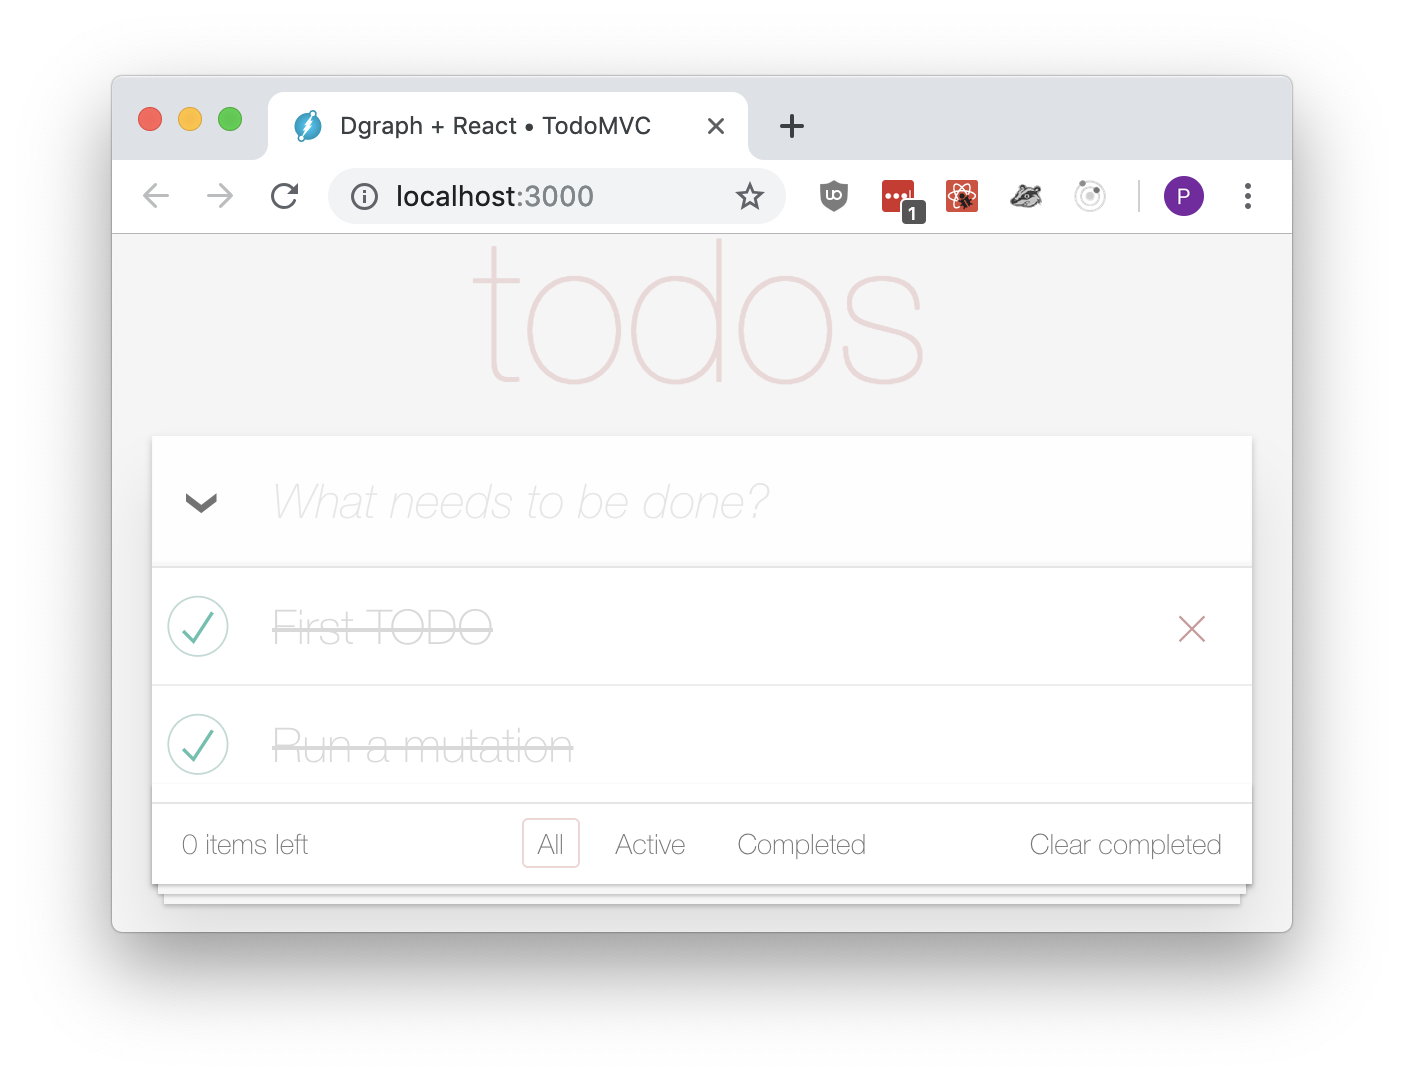
This is almost perfect, except our mutation said only the second to-do was completed, but the first was not. Why did this happen?
If you take a closer look at the Ratel query screenshot above,
you will notice that completed is returned as a JSON string, not a boolean:
  ...
      {
        "uid": "0x3",
        "title": "First Todo",
        "completed": "false"
      },
  ...
That second pair of double quotes does matter in the line "completed": "false".
We have not yet told Dgraph to parse the values of completed as booleans,
so Dgraph is storing and returning them as strings. To change that we will need to adjust Schema.
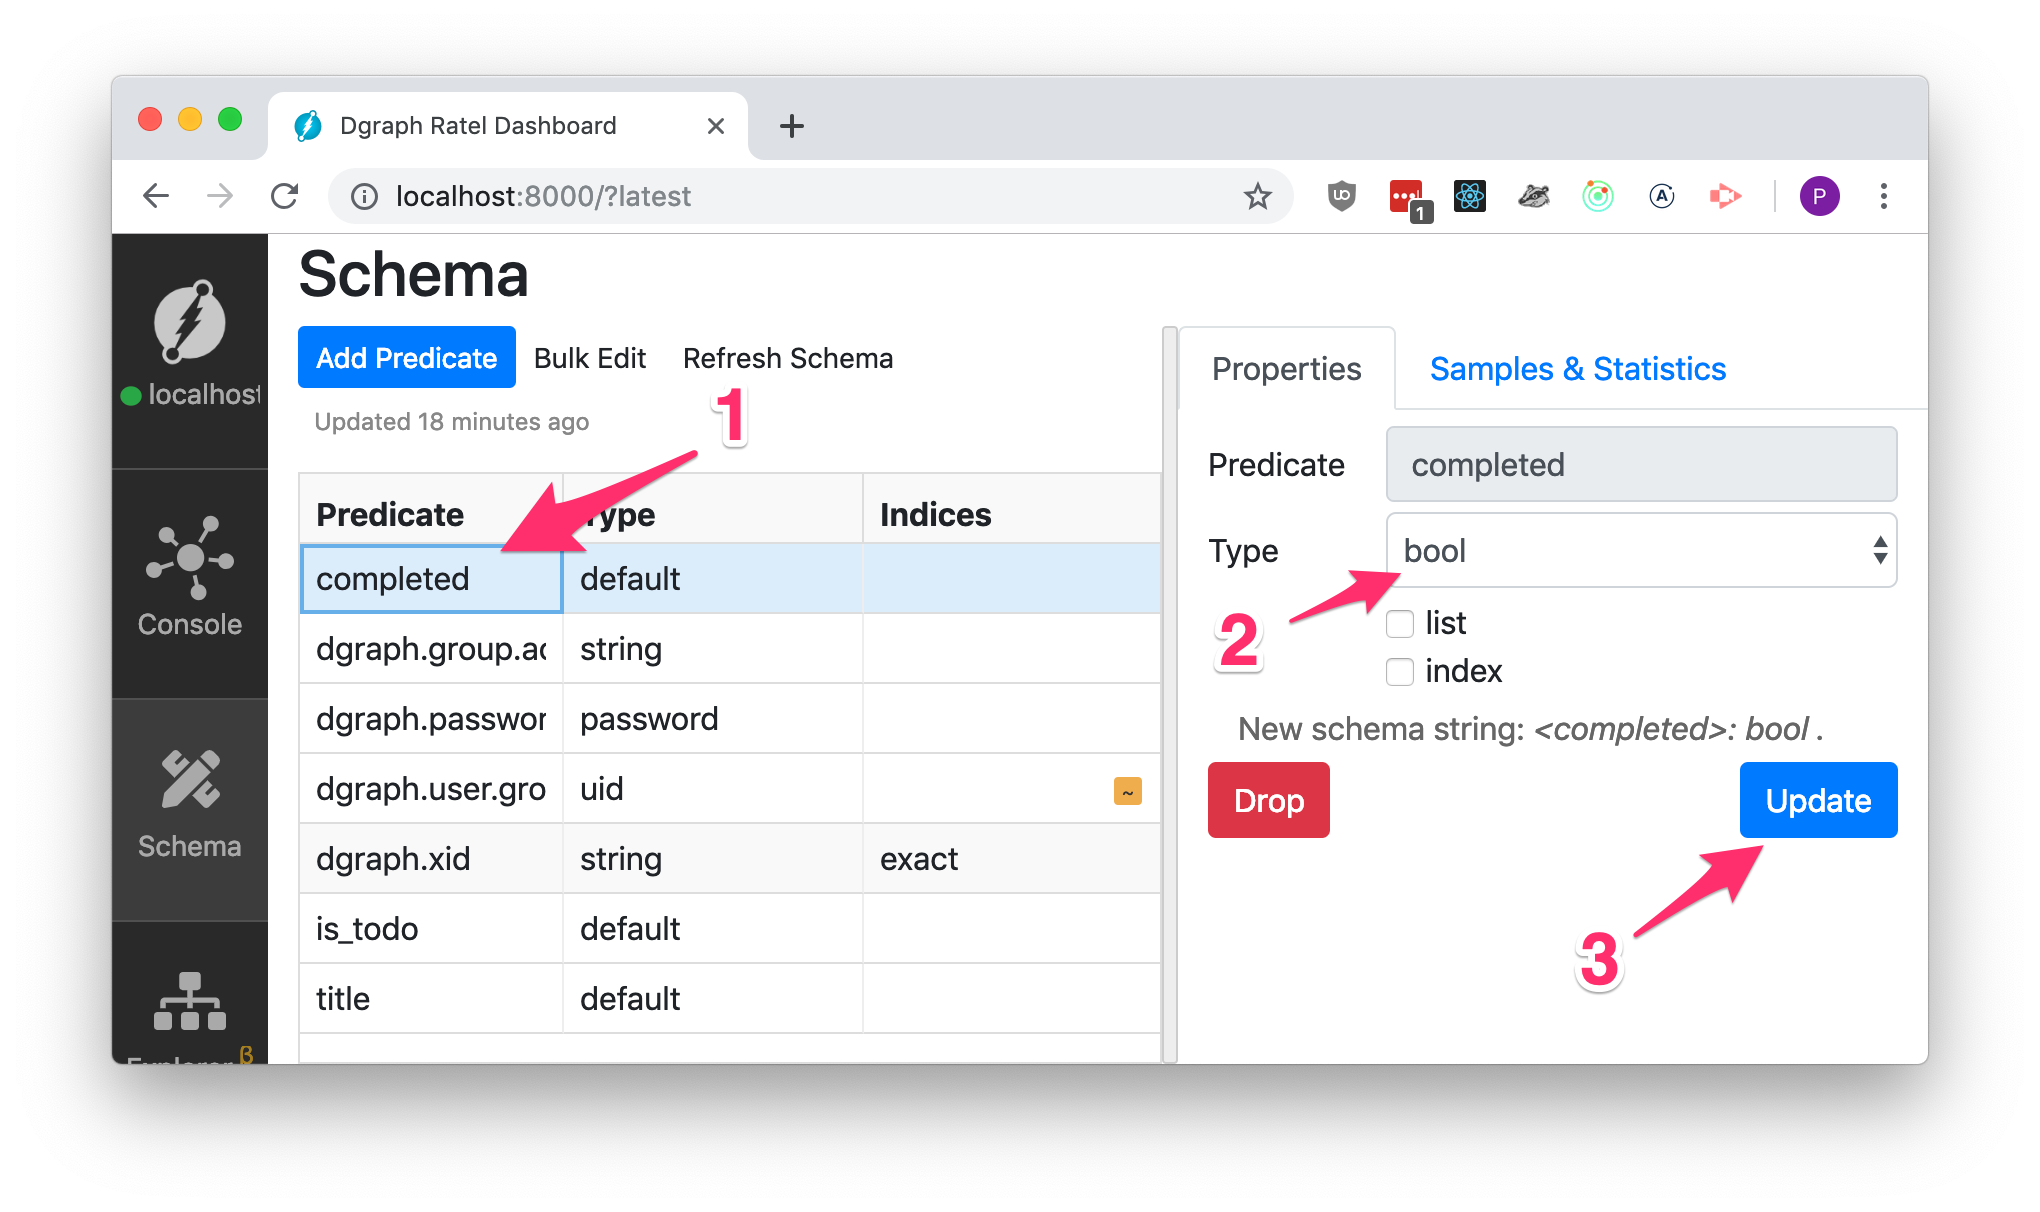
As we have determined, we need to tell Dgraph to convert the completed predicate
from string to boolean.
Ratel has full support for managing Dgraph schemas, so such changes takes only a handful of clicks:
After we’ve modified the schema Dgraph takes care of the rest — it will migrate existing data to the new type and will start responding to new queries with values coerced to the right data type.
We can verify that this is actually happening by re-running the query in Ratel, or by refreshing our TodoMVC app:
| Ratel | TodoMVC |
|---|---|
 |
 |
We have learned how to query Dgraph for data and show results to the user. The only missing piece of the puzzle is writing our to-dos to Dgraph so they don’t get lost every time our users close a browser tab.
Let’s start by sending newly created to-dos to Dgraph, and then we’ll write code for updating or deleting the existing ones.
We represent to-do items as graph nodes. To create a new node we’ll need a transaction, and a mutation:
  async addTodo(title) {
    try {
      const res = await this.dgraph.newTxn().mutate({
        setJson: {
          uid: "_:newTodo",
          is_todo: true,
          title,
          completed: false,
        },
        commitNow: true,
      })

      console.info('Created new to-do with uid', res.data.uids.newTodo)
    } catch (error) {
      alert('Database write failed!')
      console.error('Network error', error)
    } finally {
      this.fetchAndInform()
    }
  }
commitNow informs Dgraph that this transaction will not modify any more data and
should be committed right away.
In a more complex application we could set it to false (or omit it altogether) if we planned to perform more reads or mutations. In that case we’d have to manually call
commit() at the right moment.
Note how the response object contains the uid of the newly created item.
Since we used the alias "_:newTodo" in our setJson mutation, the uid of that node
is stored in the uids.newTodo of the response data.
Our application can now write data to Dgraph, and we can see auto-incremented uid values printed to console:
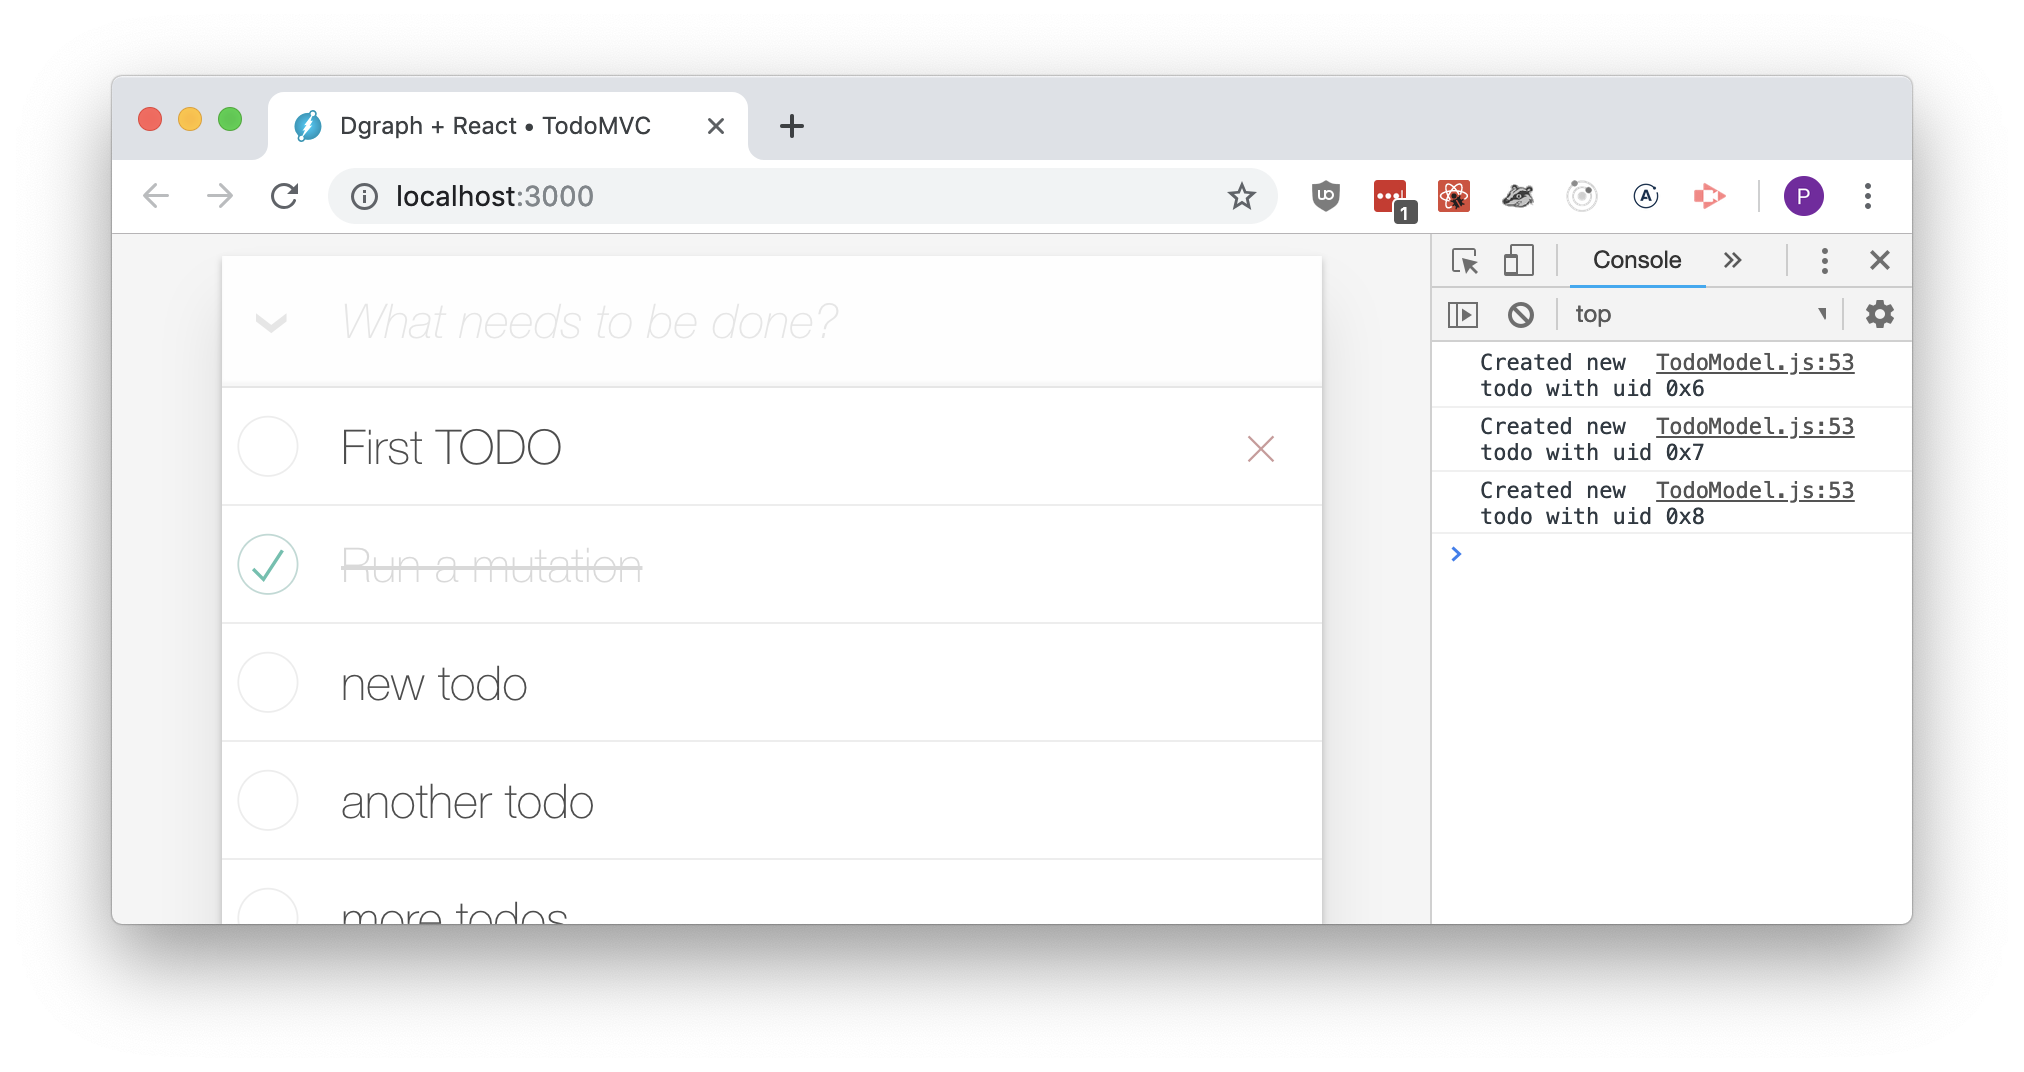
You can also go to Ratel and re-run our query — the new to-dos will appear in the response.
Code to delete a to-do is very similar to that for creating a to-do.
We only need to specify a uid of the node being deleted, and use the deleteJson field
on the mutation object:
  async destroy(todo) {
    try {
      await this.dgraph.newTxn().mutate({
        deleteJson: {
          uid: todo.uid
        },
        commitNow: true,
      })
    } catch (error) {
      alert('Database write failed!')
      console.error('Network error', error)
    } finally {
      this.fetchAndInform()
    }
  }
Deleting multiple to-dos for the clearCompleted() method can be done by passing an
array in the deleteJson:
    ...
    const uidsToDelete = this.todos
        .filter(({ completed }) => completed)
        .map(({ uid }) => ({ uid }))

    await this.dgraph.newTxn().mutate({
      deleteJson: uidsToDelete,
      commitNow: true,
    })
    ...
Our application can create new to-dos in the database, can read the data back, and can remove unnecessary data.
We just need to enable our users to edit their existing to-dos and we’re done!
As you may have guessed already, editing a node property is just another transaction:
  async save(todoToSave, newTitle) {
    try {
      await this.dgraph.newTxn().mutate({
        setJson: {
          uid: todoToSave.uid,
          title: newTitle,
        },
        commitNow: true,
      })
    } catch (error) {
      console.error('Network error', error)
    } finally {
      this.fetchAndInform()
    }
  }
We don’t need to pass the entire object back to Dgraph. We only include the new value for title in our mutation. Other predicates (such as completed) will have their values preserved.
Methods that change completion status, toggle(...) and toggleAll(...), also need to be rewritten
to use Dgraph transactions, but this exercise is left to the reader ;).
Here’s the final product:
We have built a web app that is capable of accessing Dgraph to store and display data. To do that we have learned how to run Dgraph inside Docker containers, adjusted schema in Ratel, and learned how to send GraphQL+- queries to read data and to commit transactions in order to insert or modify data in Dgraph.
There are many more things a developer of a real-life application would need to implement. Most notably I’ve omitted access control and backups, among other things. However, I hope this tutorial gave you an interesting and useful starting point for creating your own Dgraph-powered applications.