
GraphQL 101: What is GraphQL?
Most people within the tech world have heard of GraphQL at this point. Adoption is also booming at steady ...
Learn more

Update: On April 16th 2021, Slash GraphQL was officially renamed Dgraph Cloud. All other information below still applies.
This article will guide you through signup up for Slash GraphQL and creating your first deployment.
If you already have an account, you can skip ahead to the next section.
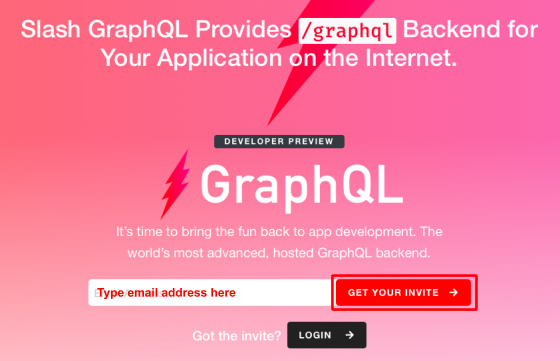
First, navigate to the invite page.
Enter a valid email address and click Get Your Invite.
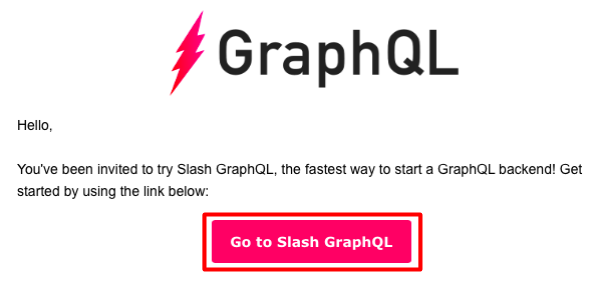
Open your confirmation email, click on Go to Slash GraphQL.
Set a password and click Change Password.
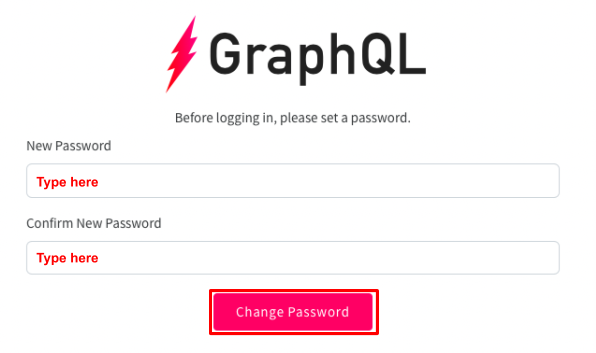
If you signed up using your email, you may need to verify your email before continuing.
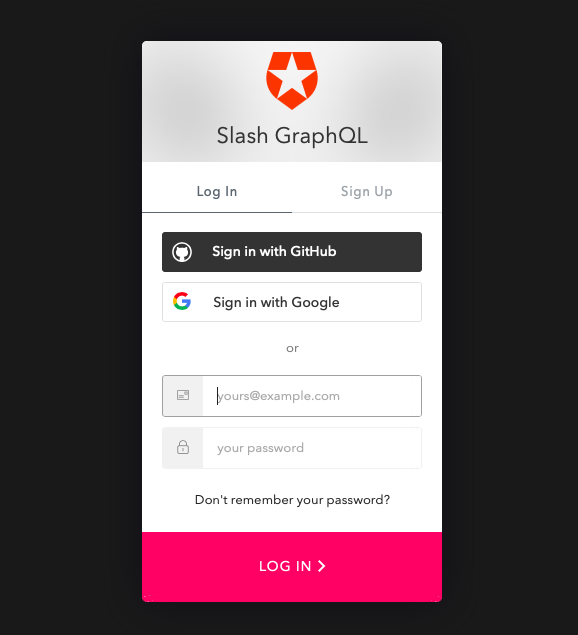
Now that you have created an account, you can sign in here
Enter in your email address and password and click “log in”, or log in using your GitHub or Google account.
Now that we’ve signed in, we will create a deployment.
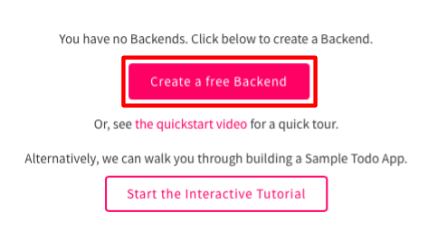
Click on the big pink button named “Create a free deployment”.
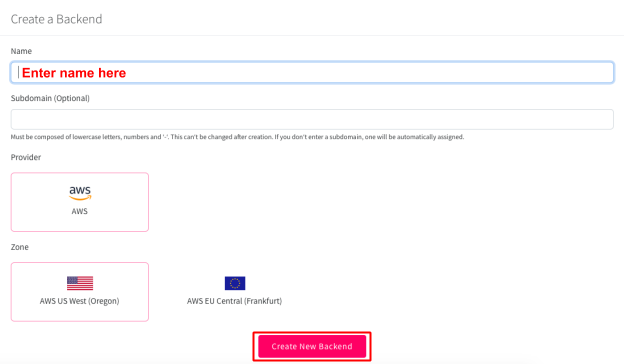
Enter in a Name for your backend and click Create New Backend to launch it.
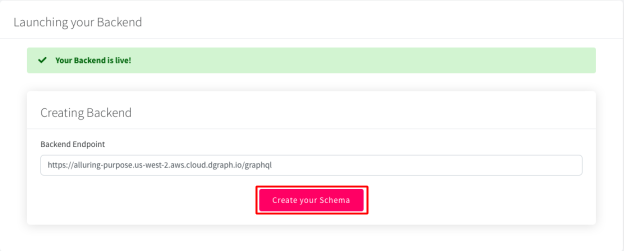
Creating Your Schema With the backend live, click Create Your Schema.
Now you’ve created your first deployment!